Lesson 3 :: Images and Manipulation Techniques
In the previous two lessons, we have been talking about different kinds of design programs and the functions on them. Now it’s time to start figuring out how to manipulate images into a signature, an avatar or something else for the Art Department.
Images
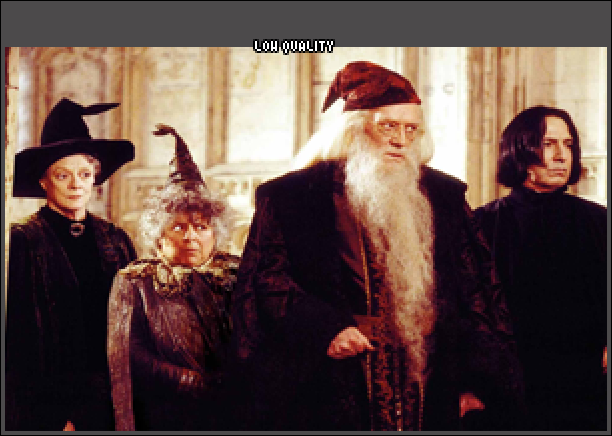
Before you can start manipulating images, you will have to choose an image that you would like to manipulate. In fact, you can almost use all the images you want, but it’s important that the images you use are of high quality. Of course it’s important to know what a high quality image is. A high quality image isn’t pixelated or fuzzy. A high quality image means that your image has a high resolution. In lesson 2 you learned about the different resolutions. You can understand why it’s better to choose a high resolution image than for a low one.
Quality of an image isn’t the only important thing. When searching for an image it’s better to use an image that is bigger than a smaller one. You can always make a large image small. Making a small image large tends to create a pixelated and low resolution to an image.
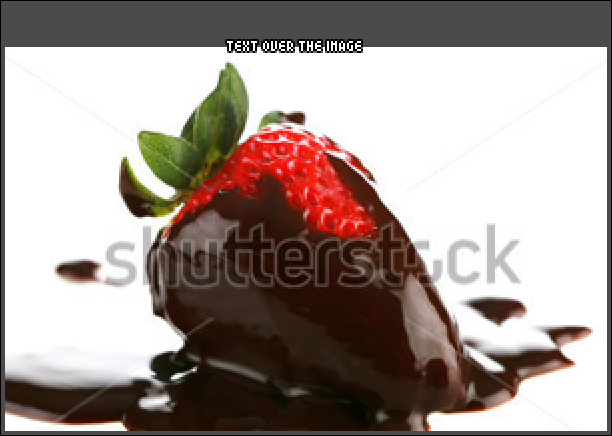
A third aspect you have to keep in mind or can keep in mind is that there is no text on the image. Some images have text added to them by others. When choosing an image it’s better to take one of high quality without text than an image with text. An image with text means you have to do more editing to the image if you don’t want the text to show. However, when you get the hang of manipulating images it gets easier to use images with text on them.
Quality of an image isn’t the only important thing. When searching for an image it’s better to use an image that is bigger than a smaller one. You can always make a large image small. Making a small image large tends to create a pixelated and low resolution to an image.
A third aspect you have to keep in mind or can keep in mind is that there is no text on the image. Some images have text added to them by others. When choosing an image it’s better to take one of high quality without text than an image with text. An image with text means you have to do more editing to the image if you don’t want the text to show. However, when you get the hang of manipulating images it gets easier to use images with text on them.
|
|
So when searching for an image to use think, about the following points:
- High quality
- Bigger is better, as long as the quality is the same or better
- No added text or other things to the image.
Aspect Ratio
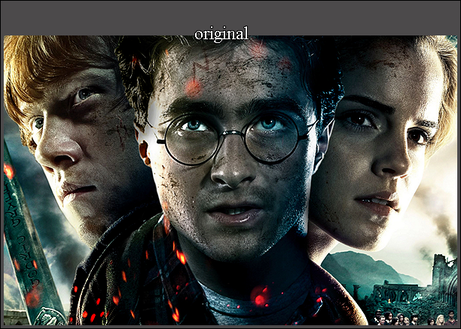
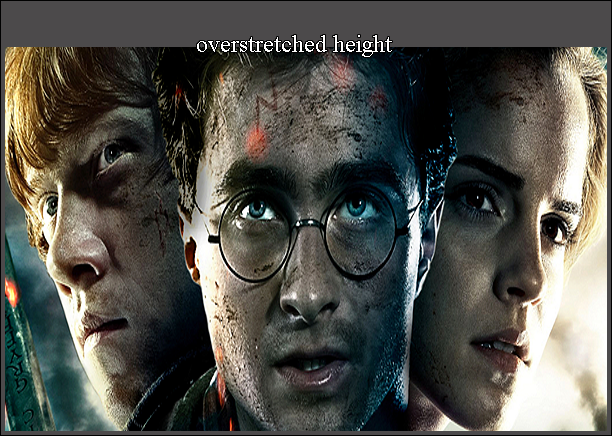
Aspect Ratio is the ratio between its sizes in different dimensions. The aspect ratio is an important aspect that you have to keep in mind when you are making an image manipulation. When you’re making an image manipulation and you want to shrink your image, you always have to make sure that you keep the aspect ratio in mind. It’s important that you keep the width and height going the same way down. Many image manipulation programs let you do this by using the transformation/move tool and shrinking down your image while holding down shift. Which means your aspect ratio will keep the same!
|
|
Layers
Before we go on with techniques for image manipulations, there is something that is just as important as Aspect Ratio. This is using layers while you are doing an image manipulation. Layers are used in image editing to separate different elements of an image. When you use layers during your image manipulation, you can play around with the elements, delete possible elements or hide them if you are not sure if you should use the element. So when editing images, always use layers!
Starting with an image
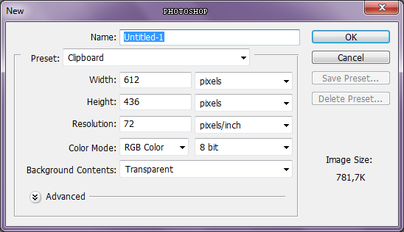
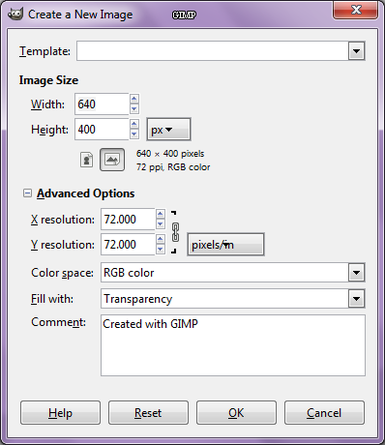
When you are going to start on your image manipulation always start with the size your final image should become. Which means if you want to make a signature for HOL use the sizes: 250 pixels by 100 pixels. If you want to make an avatar use 100 pixels by 100 pixels. For the HOL art department it’s a bit more tricky to take sizes. But your image always have to have the minimal sizes of 300 pixels by 300 pixels and maximum 600 pixels by 600 pixels. You can always vary between these sizes. When I make something for the HOL art department I imagine what I want to make and play a bit around with the sizes until I’m satisfied.
You can start a new file by going to “File --> New”. In there you can put the sizes you want. When I start a new file I always put the background of the image on transparent. This is because you don’t need a coloured background. You can always add one later on.
You can start a new file by going to “File --> New”. In there you can put the sizes you want. When I start a new file I always put the background of the image on transparent. This is because you don’t need a coloured background. You can always add one later on.
|
|
Techniques
We will now be covering different techniques for image manipulations. We will be covering Brightness/contrast, Curves, Color Balance, Gradient Map and Hue/Saturation.
I will be using the following image to show how the different techniques that are going to be mentioned look like.


Curves
Curves is one of the most thought-through tools that one can use to change the color, brightness, contrast or transparency of your image. Curves is pretty easy to use and a fun to toy with. If you are using GIMP you can go add Curves by going to Tools → Color Tools → Curvers or go to Colors → Curves. If you are using Photoshop I would recommend to add a Curves layer. While GIMP allows you to use Curves, this will be on your image itself. With Photoshop you can add a new layer. This means that you can easily delete the Curves if you think it doesn’t look good. So in Photoshop you should go to Layers → New Adjustment Layers - Curves.
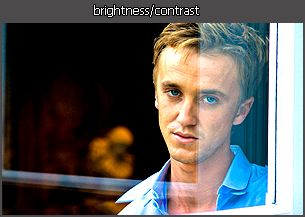
Brightness/Contrast
With Brightness/Contrast you can adjust the brightness and contrast levels of your image. Unlike Curves, Brightness/Contrast isn’t as thorough as Curves, since you can adjust the brightness and contrast with this one. Therefore Curves is more often used. If you want to use Brightness/Contrast in GIMP one should go to Tools → Color Tools → Brightness/Contrast or Color → Brightness/Contrast.
For using it in Photoshop with this as well I would recommend you to use a layer. So you should go to Layers → New Adjustment Layers → Brightness/Contrast.
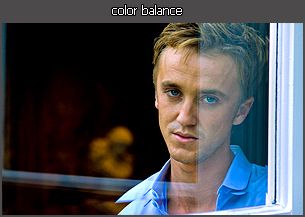
Color Balance
Color Balance is an option that lets you modify the color balance of your image. The changes that it makes aren’t that drastic. For that reason this is an option that let you correct predominant colours.
In GIMP go to Tools → Color Tools → Color Balance or Colors → Color Balance.
In Photoshop go to Layers → New Adjustment Layer → Color Balance.
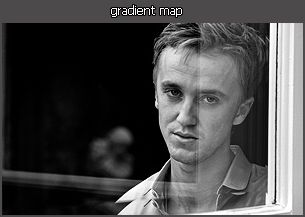
Gradient Map
Gradient Map is a way to color your image in the colours of the Gradient you choose. This means that the lightest tones of your image are being replaced to one color and the darkest tones will be colored the other color of your gradient. Using Gradient Map can give you interesting effects, especially if you use it with one of the possible effects, which we will also cover in this lesson.
To use Gradient Map in GIMP go to Colors → Map → Gradient Map.
In Photoshop go to Layers → New Adjustment Layers → Gradient Map.
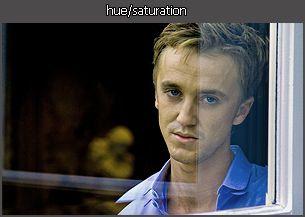
Hue/Saturation
Hue/Saturation is a method to adjust hue, saturation and lightness levels on an image. There is not much to explain with this method. Using it, you will change the colors of your image. Besides that, Hue/Saturation also has an option to colorize your image. Colorizing means that you will change your image to one color, with different shades depending on the hue, saturation and lightness.
To use Hue/Saturation in GIMP go to Tools → Color Tools → Hue/Saturation or Colors → Hue/Saturation.
In Photoshop go to Layers → New Adjustment Layers → Hue/Saturation.
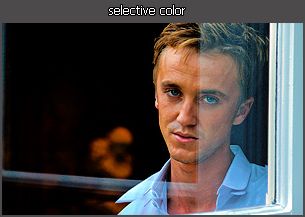
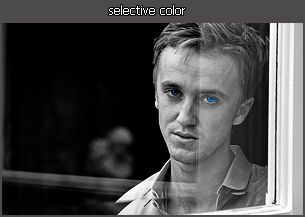
Selective Color
Selective Color is an option that Photoshop has, but GIMP doesn’t. This is one of my favorite methods to play with when I’m editing an image. With Selective Color you can make your subject and photo stand out. It can enhance the colours of your image. Selective Color is often used for letting a single (or a few more) colours stand out in your image, while the rest of the image is black and white or sepia. Think of the famous New York image, where you see an image of New York in black and white while you see a single yellow cab in colour.
If you want to use Selective Color go to Layers → New Adjustment Layers → Selective Color
Now, let all these possible techniques sink in and take a deep breath. When you are manipulating an image never stick with only ONE of these possible techniques. You can always combine some of the techniques, like using Curves and Hue/Saturation or even more! Play around with the possible techniques, but keep in mind to try to keep different layers so you can easily delete a technique you don’t like.
