Lesson 4 :: Blending and Text
In this lesson we will go a bit further into the image blending options. We will also cover how you can add text to your final image. You would probably say, “Oh, that’s easy. Just add your text.” but it’s more than that. In this lesson we will cover that.
More Blending options
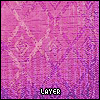
The following methods that I will explain can be used in all the three image manipulation programs we discussed in our first lesson. This method will allow you to blend your layers. Blending your layer means that you are changing the layer blend mode. This will effect your entire layer. So even if you have a selection selected that you want to blend, it will ignore this selection. You can find the blend mode on the left corner of your layer palette. Besides changing the Blend Mode you can also change the opacity of your layer. A new layer will always be in the default settings. The default settings is the Blend Mode “Normal” and the default opacity of 100%.
|
|
Blend Modes
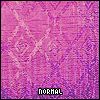
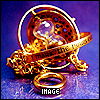
Normal Normal Mode is the default. The colours of the two layers will not interact in any way. It will display the full value of the colors in the layer that is on top. 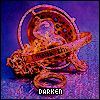
Darken Darken compares each pixel value of the upper layer to its counterpart’s pixel value of the lower layer and chooses the darker of the two to display. 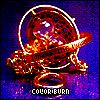
Color Burn Color Burn burns in the colour of the upper layer with the lower layer. No part of the image will get lighter. 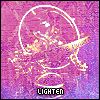
Lighten Lighten compares the two layers pixel for pixel and uses the lightest pixel value. No part of the image gets darker 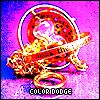
Color Dodge Color Dodge dodges the lower layer with the upper layer, resulting in a lighter image. No part of the image will be darkened. 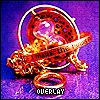
Overlay Overlay multiplies the light colours and screens the dark colors 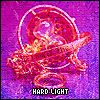
Hard Light Hard Light multiplies the dark colours and screens the light colours. 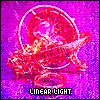
Linear Light Linear Light is the same as Vivid Light but it works on the brightness of the lower layer 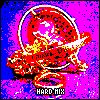
Hard Mix Hard Mix is a method that can be used for color enhancement or special effects. 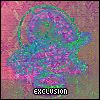
Exclusion Exclusion uses the darkness of the lower layer to mask the difference between upper and lower layers. 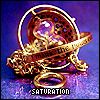
Saturation Saturation changes the saturation of the lower layer to the hue of the upper layer but leaves brightness and hue alone. 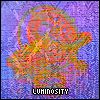
Luminosity Luminosity changes the luminosity of the lower layer to the luminosity of the upper layer while leaving hue and saturation the same. |
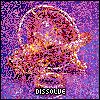 Dissolve
Dissolve makes the lower layer take on the colours of the top layer, and how much depends on the opacity of the upper layer. Dissolve only affects pixels with some transparency. Because of that reason I put the layer's opacity at 50%. 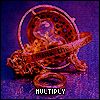
Multiply Multiply darkens the lower layer based on the darkness of the upper layer. No part of the image will get lighter. Any applied tone darker than white darkens the lower layer. White becomes transparent. 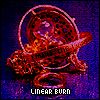
Linear Burn Linear Burn works like multiply but the results are more intense. 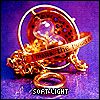
Soft Light Soft Light will multiply the dark tones and screen the light tones. 
Screen Screen brightens by lightening the lower layer based on the lightness of the upper layer. The results is always lighter, and makes a good mode for correcting exposure in photos that are too dark. 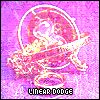
Linear Dodge Linear Dodge works like screen but with more intense results. 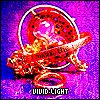
Vivid Light Vivid Light will dodge or burn the lower layer pixels depending on whether the upper layer pixels are brighter or darker than neutral gray. It works on the contrast of the lower layer. 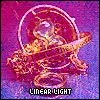
Pin Light Pin Light changes the lower layer pixels depending on how bright the pixels are in the upper layer. It acts like Multiply when the upper layer colour is darker than neutral gray, and acts like screen if the upper layer colour is lighter than neutral gray. 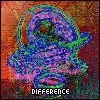
Difference Difference reacts to the difference between the upper and lower layer pixels. Large differences lighten the colour and small differences darken the colour. 
Hue Hue changes the hue of the lower layer to the hue of the upper layer but leaves brightness and saturation alone. 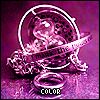
Color Color Changes the hue and saturation of the lower layer to the hue and saturation of the upper layer but leaves luminosity alone. |
These are the blend modes that are listed in Photoshop. Mostly all of them also appear in GIMP and PaintShop Pro. I think GIMP may also have a few others. Don’t be afraid to just try those out and look at the effect it gives. If you really want to know what they do, you can also look them up in the manual of GIMP. But be warned! GIMPs manual is in this aspect very evil. It talks about formulas and not truly what they do.
Textures
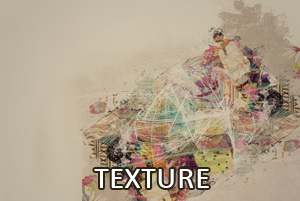
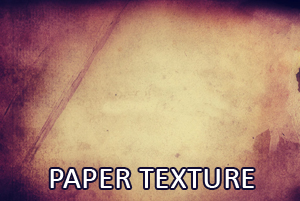
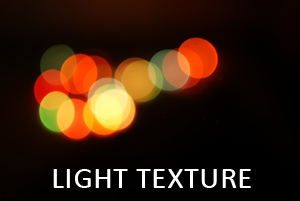
Textures! Okay I think this, together with explaining text, is one of the harder ones to explain. It’s something that you use on feeling. Textures are images that mirrors actual textures. Thing about paper, glass, leaves, etc, but also light effects. Textures are there to give just that little extra flare to your image. When using a texture I always use it together with a blend mode and sometimes I change the opacity. This means in my image manipulations you will hardly see a texture in normal mode. You can find textures by searching on the internet. There are even sites that let you use textures for free.
|
|
|
Text
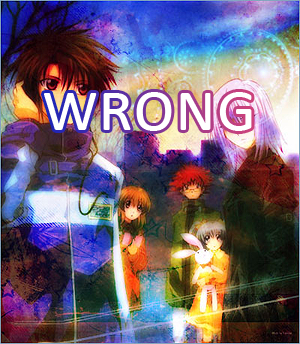
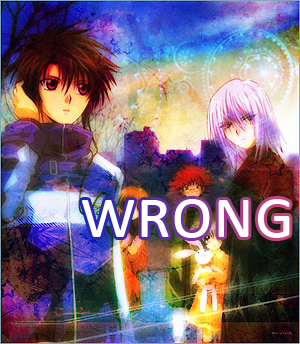
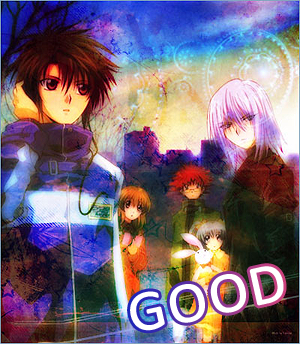
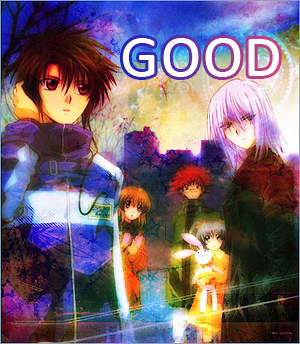
Like I said, adding text to an image isn’t as easy as it looks. It’s hard to do and hard to explain. But when you add text to your image you have to think carefully about where to place your text. You should never place your text over your image. If you do that, you will lose the focus on your image. Besides loosing the focus, your text can also be hard to read. Think twice before covering your brilliant edited image with text.
|
|
|
|
Anti-Alias
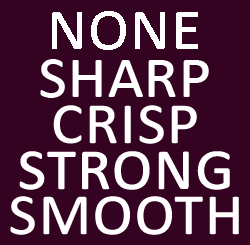
Anti-Alias is a method of making your text appear smoother and more sharp by essentially resampling at a lower resolution. It’s important to add Anti-Alias to your text, because in the end it would just look much better. There are five possibilities in Photoshop to set your Anti-Alias on. You have None, Sharp, Crisp, Strong and Smooth. When you are adding text to an image, never use None. None is the option that you use when you want to add a ‘pixel’ font, which means you are adding a small font that and will look very ugly with the other options. So I never use None, except when I’m working with a pixel font like handy00.
Base Colour
When adding text, I normally pick out either the lightest or darkest colour that appears within the image as my starting point. I do either that or start with straight black or white. You shouldn’t limit yourself to these colours, though. You are looking for a colour that will stand out against your background, but also a colour that doesn’t mismatch your background. And don’t be afraid of the colour, because you can always change it if you don’t like it.
Choosing a font
Choosing a font is the hardest, but also the most fun part of all and it really takes up your time. I have this huge font collection. When I’m adding a font, I go to almost all my fonts and choose those that I like. So when you are choosing a font, never stop at the first font you see and like. Look further through your fonts and pick a few examples and then match it with your image to pick one.
Fonts
There are a lot of different kind of fonts. But most of them are classified in different types. You have the Classic Serif Fonts, the Sans-Serif Fonts, Handwritten Fonts and Fancy Fonts.
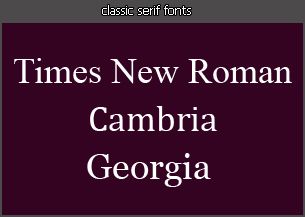
Classic Serif Fonts
Examples: Times New Roman, Cambria, Georgia
These classic fonts are to be found on every computer. You can say that they are a bit plain, but they are easy to be manipulated into something nice. You can do this by changing the distance between letters. This kind of fonts are good to use next to a Handwritten or a Fancy font.
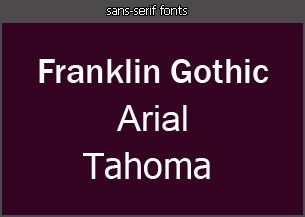
Sans-Serif Fonts
Examples: Franklin Gothic, Arial, Tahoma
The Sans-Serif Fonts are the casual version of Classic Serif Fonts. The biggest difference between these two are that the Sans-Serif Fonts don’t have the end strokes like the Classic Serif Fonts.
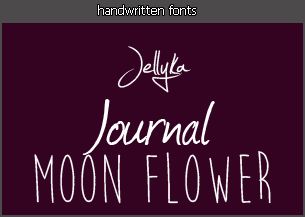
Handwritten Fonts
Examples: Jellyka, Journal, Moon Flower
Handwritten fonts are based upon the varied and often fluid strokes created by handwriting. Handwritten fonts are most of the time organized into highly regular formal types similar to cursive writing or looser and more casual fonts. Handwritten fonts are easily to combine with Serif and Sans-Serif fonts. The only downside of these fonts is that they sometimes are a bit too hard to read when not put in the right size.
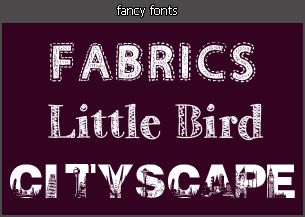
Fancy Fonts
Examples: Fabrics, Little Bird, Cityscape
The last type are the Fancy Fonts. The Fancy Fonts are those who don’t fall under the ones I mentioned above. These fonts have a design feeling over them. Fancy Fonts are always nice to use, but they can be hard to read or too heavy for your computer or image manipulation program.
Classic Serif Fonts
Examples: Times New Roman, Cambria, Georgia
These classic fonts are to be found on every computer. You can say that they are a bit plain, but they are easy to be manipulated into something nice. You can do this by changing the distance between letters. This kind of fonts are good to use next to a Handwritten or a Fancy font.
Sans-Serif Fonts
Examples: Franklin Gothic, Arial, Tahoma
The Sans-Serif Fonts are the casual version of Classic Serif Fonts. The biggest difference between these two are that the Sans-Serif Fonts don’t have the end strokes like the Classic Serif Fonts.
Handwritten Fonts
Examples: Jellyka, Journal, Moon Flower
Handwritten fonts are based upon the varied and often fluid strokes created by handwriting. Handwritten fonts are most of the time organized into highly regular formal types similar to cursive writing or looser and more casual fonts. Handwritten fonts are easily to combine with Serif and Sans-Serif fonts. The only downside of these fonts is that they sometimes are a bit too hard to read when not put in the right size.
Fancy Fonts
Examples: Fabrics, Little Bird, Cityscape
The last type are the Fancy Fonts. The Fancy Fonts are those who don’t fall under the ones I mentioned above. These fonts have a design feeling over them. Fancy Fonts are always nice to use, but they can be hard to read or too heavy for your computer or image manipulation program.
So when you are adding text to your final design think about the following points:
- Where is a good place that doesn’t lose the focus of your image?
- Use a darker or lighter colour as your first colour and go from there to one you like
- Use Anti-Alias
- Go through all your fonts and choose a few possible fonts and choose between them
- Add Additional Effects to make sure that your text is readable.
